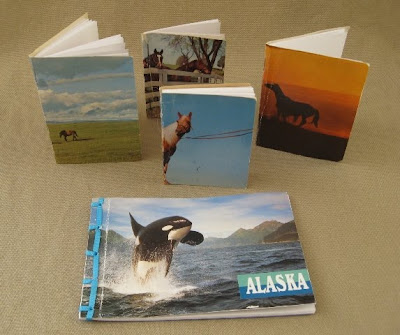
 My Mom has a playhouse in her backyard for the grandchildren and in front of that playhouse is a little half-sized mailbox in which she places little notes, things of interest and postcards. Abby has kept all of the 60's era horse postcards her Grandma had "sent" her, but had bent them in half so they would fit into a little purse she had.
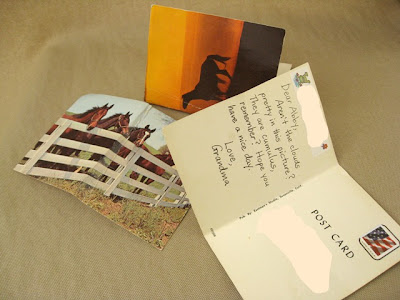 Then she got really upset because she thought they were ruined with the fold down the middle. Abby is really into writing lists, and stories lately and we go through paper WAY too quickly so we "fixed" them by making them into notebooks using a few different methods.
Method 1: Simple Staple Binding
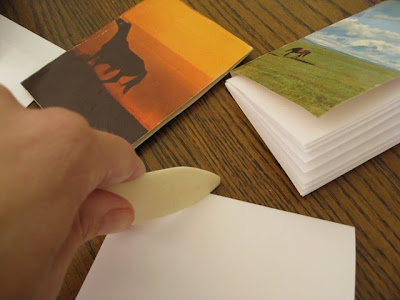
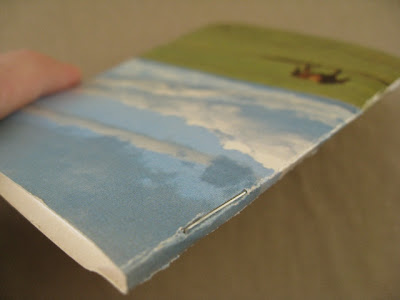
 With the first few, we just worked with the folds and turned them into simple little notebooks. It was really easy, we measured and cut the paper to size- just a little smaller than the dimensions of the postcard. Then, using a bone folder (an absolute MUST in paper crafting), the papers were folded in half and sandwiched in the postcard.
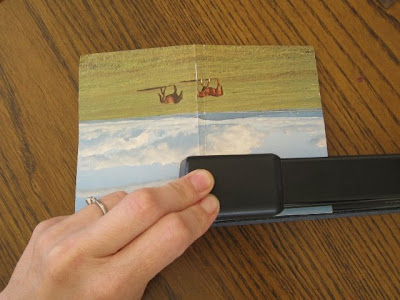
 The papers and postcard were secured by placing a staple directly on the seam in two places.
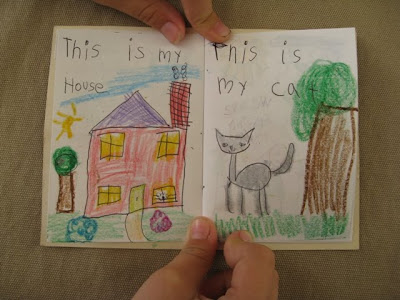
 This is what the inside looks like:
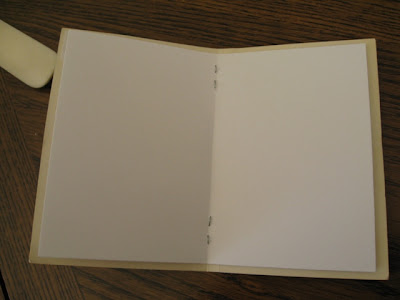 Here's a slight variation Abby did herself. The staples were placed on the side about 1/4 inch in through all layers. It notebook functioned as well as the others.
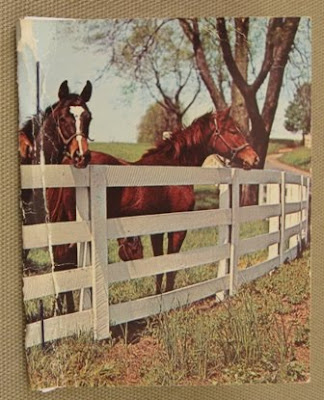
Method #2: Glue Gun Binding
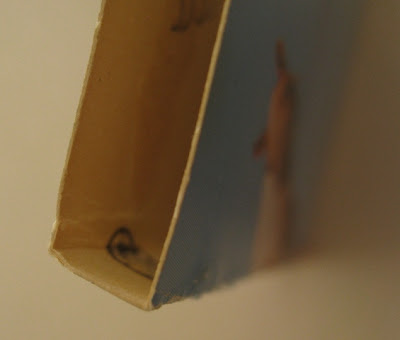 Two folds were made here about a quarter inch apart. Then, the paper was cut to fit. We cut individual, loose papers and not signatures- I didn't want to bother with all the sewing! While the paper is being cut, it's a good idea to fire up the glue gun now.
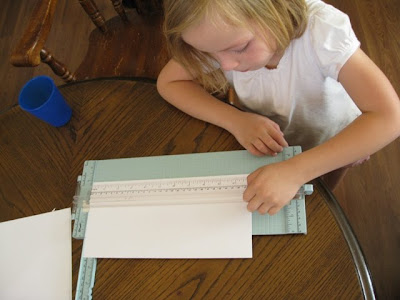 Cut, cut, cut until there are enough sheets to fill the whole thing. Here is what it looks like with all the paper stacked neatly inside.
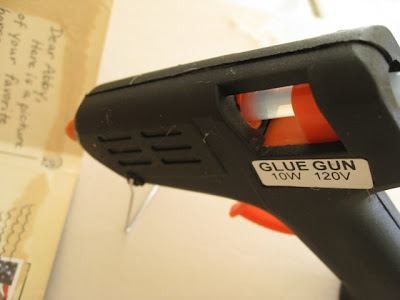
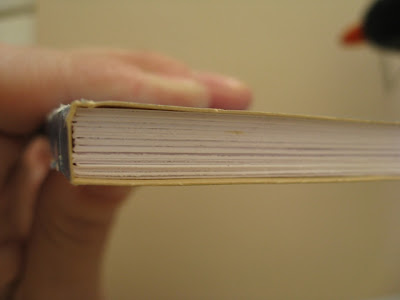 Take the papers out and glue gun down the spine. Be fairly generous here. You don't want it sloshing out the sides, but you need it to hold everything. Quickly take your neatly stacked sheets and stick them firmly into the hot glue. Wiggle and squiggle and press and squeeze until the glue is cool. Do you like how my dollar store glue gun tells you exactly what it is just in case you are unsure. I only buy quality here...
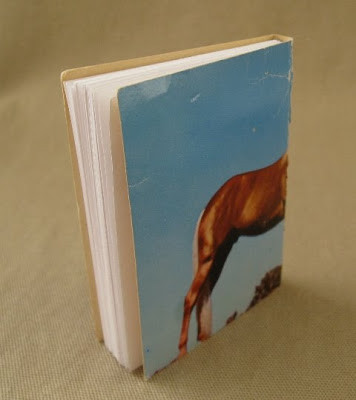
 Here is the finished notebook! The pages are in really good. Better than expected, really! Sometimes you surprise yourself!
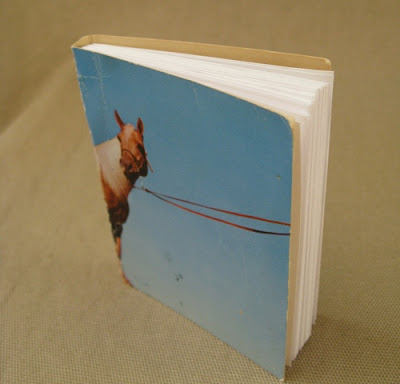 Here is the back-end shot of the back-end. Ooh, pretty Palomino!
Method #3: Japanese Stab Binding
Abby told me in no uncertain terms that this postcard was extremely special to her because it came from her very special friend Savannah and she did not want it bent but she did want to do something extra *special* with it.
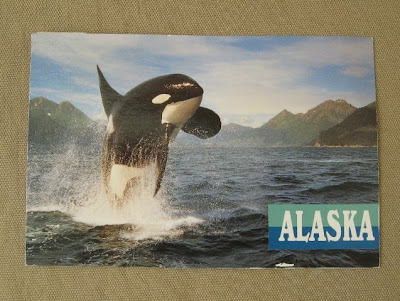 I remembered Kelsey's awesome Japanese Stab Binding tutorials at Vanilla Joy and knew they were definitely SPECIAL enough for the Alaskan Killer Whale postcard! I'm not going to re-invent the wheel here as far as a tutorial goes. Besides, even if I tried, my wheel would look like a cast off square wonky wheel next to the classy Cadillac wheel with the shiny chrome and spinners and everything. Just use the instructions at Vanilla Joy, but I'll add a few notes.
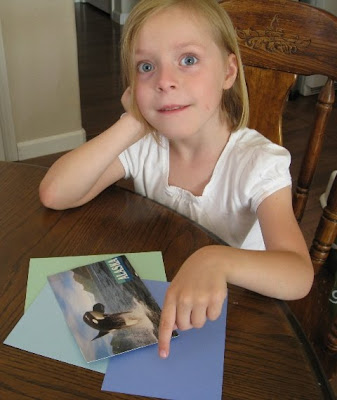 First, pick out a matching back cover that coordinates with your postcard; preferably card stock. (You could use a recycled greeting card; just slice it down the fold and you already have your front and back.) Then gather your supplies. I really like to print directions for my projects rather than refer back and forth to the computer. There is something about having something tactual and tangible that makes everything easier...
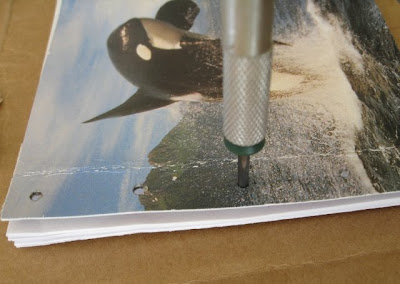
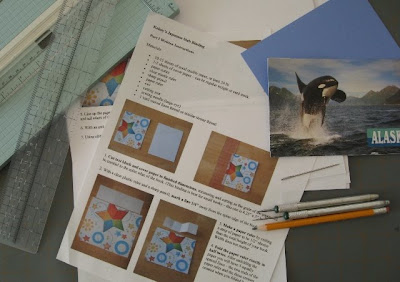 First, can I say, I LOVE the use of a simply made paper ruler (instructions given in the tut). Also, be careful to place something you don't mind getting holey under your project when you punch your holes with your awl.
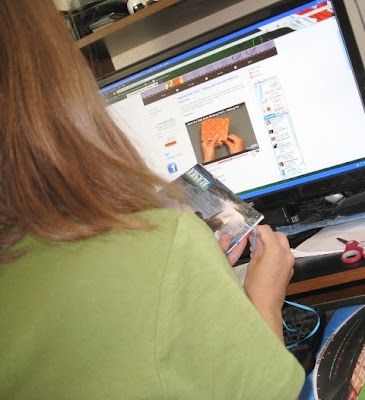
 Here's a photo my daughter took of me following along with the video tutorial. I highly recommend using the video for the sewing part of this project. It is one of those things that is fairly hard to explain in words, but once you see it and do it yourself, it is super-simple.
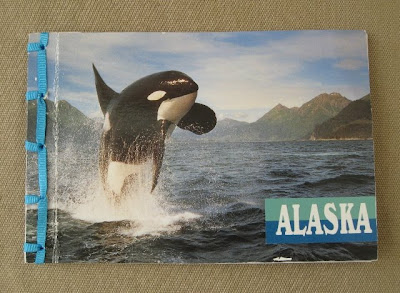
 Here's the end result! Isn't it special? Abby thought so. I hope Savannah thinks it was too.
 There you have it: Three easy ways to turn postcards into little notebooks! They were all so fun, I can't even decide which is my favorite!
 The first one was promptly put to good use! I can't wait to see what the others will become!
 Disclaimer: I was not compensated in any way for plugging Vanilla Joy- I just really like her site and her tutorials! She always has great give-aways as well. I do, however, know her in real life and she is just as lovely a girl who ever was!




Cute idea! I would love to figure out how to do this with plain old pictures too. Do you thini it would work?
ReplyDeletePut your button up today for Monday's Buttons! Thanks for participating!
I love them - I haven't made little notebooks in awhile - maybe I should.
ReplyDeleteFunny - my oldest is a list maker and journaller
Such a cute idea! I bet she is thrilled with her little books!
ReplyDeleteXOXo
Jen
This is a great idea! The results are very cute together :)
ReplyDeleteThanks for sharing these ideas - I love carrying a small notebook in my purse for random notes and ideas, and these are great, simple ways to create them!
ReplyDeletewhat an awesome idea! thanks so much for posting this, my daughter loves little notebooks, now thanks to you, we can make our own, thanks :)
ReplyDeleteSuch a good idea to use post cards! And I'm glad my tutorial was helpful...thanks for sharing!
ReplyDeleteThat is such a cute idea! I want to try to make one for myself. Thanks for sharing!
ReplyDeleteFab post with fab pictures. Your daughter is über cute and tiny books are my favorite! :-)
ReplyDelete