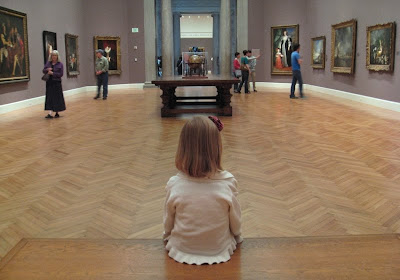
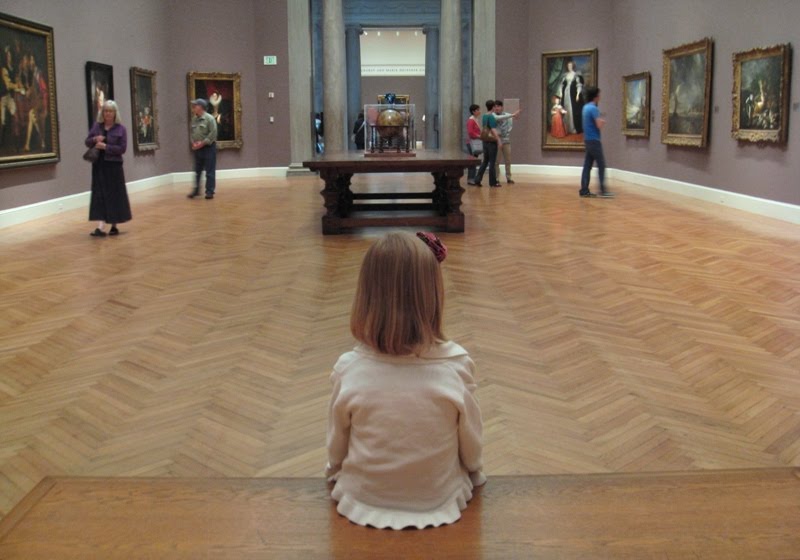
Visiting an art museum with your child, or braver still, children, can be a fun and rewarding experience but it can also be a disaster. I have experienced both. Here are some tips and activities that may help you to plan a fun and educational day.
Before your visit...
*Look through art books and ask questions about the pieces that hold the most interest. Point out different styles and encourage your child to recreate their favorites. This is one of our favorites:

*Research the museum you plan on visiting. Find out how "child friendly" they are; if they allow strollers, bags or picture taking; if there are special rates or programs for children. Find out about special exhibitions, fees and restrictions. Many museums have free family days... you can't go wrong with free!
*Show pictures of the amazing things you will encounter and prepare a scavenger hunt featuring certain pieces of art or just small portions that they have to match to the corresponding piece.
*Go over all rules, regulations and expectations. I told my daughter about the guards that get nervous and follow little kids around if they look like they are getting too close to the art and misbehaving. I even threatened they would kick us out so we had to behave with a capital B!
*Practice at your home, pretending the art you have hung in your own home is the museum. This probably saved our bacon the most. We would point and discuss quietly and if she got too close or too loud, I would tell her the imaginary guard was getting a bit nervous and she would fall back into line instantaneously!
During your visit...
*Dress smart so your child(ren) know they are going to a special place and be sure to take a picture next to the entrance.

*Arrive as early as possible. The closer to lunch and nap time, the worse the behaviour.
*Go at your child's pace and be sensitive to his/her cues. If they're bored, go more quickly; if they want to watch the boring mummy CAT scan over and over and over again, let them. You can go back a different time for yourself, but for your child to get the most out of it, it has to be all about them- of course, we can always "guide" them and "encourage" them in the way we wish!
*Forgo the guided tour (see previous point) unless there is a specific children's tour.
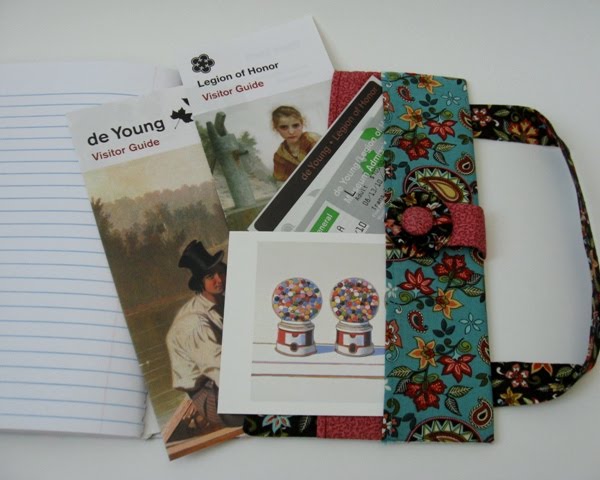
*Point out special details and ask questions about the art as you go such as, "How do you think that person is feeling?" or "Why do you think the painter made the rooster so much larger than the fox?" As we did this at the Legion of Honor in San Francisco last week, there was an older man who leaned in really closely to hear whether or not my daughter thought this scruffy old dog belonged to the couple in the painting we were looking at. He smiled at told her he thought the haggard dog looked a lot like them and they shared the sweetest moment. There is nothing older people like more than a well behaved child and nothing that will get you more dirty looks than a brat! As we all know, every child as a bit of both, but at a museum- especially if it is a big, fancy one; we want to do everything we can to keep the "angel child" as long as possible.

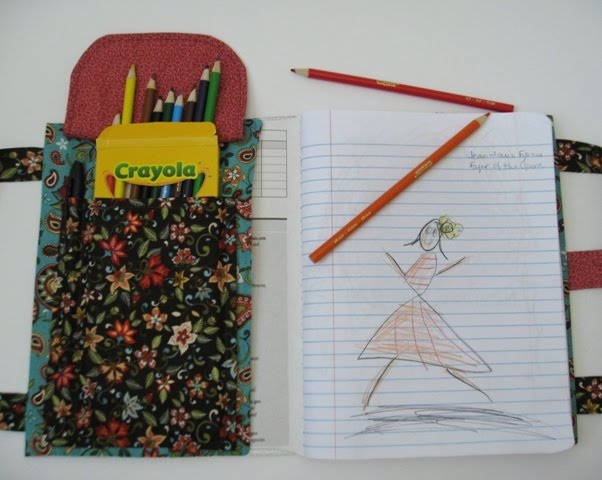
*Arm them with a sketchbook and colored pencils and/or the aforementioned scavenger hunt list. Children always do better when they are allowed to "actively" participate. We set a limit before we went that she could only sketch 2 pieces of art per museum that day as we were visiting two. This helped a ton!

*Try to relate the art to them and take photos of their favorites if it is allowed. Here is a sculpture of a hand by Rodin that Abby was impressed with so we had to snap a quickie with her hand in the same pose.

*At the end of your visit, take them to the gift shop and let them pick out a postcard or two of their favorite pieces.
*Go when they're ready! Believe me, it does no good to prolong the agony! When they're done, they are DONE!

After your visit...
*On the ride home, while everything is still fresh in the memory, talk about the day's highlights and write them down.
*Gather the maps, tickets, postcards and memorabilia together and put it all in a special place or scrapbook.
*Frame your child's favorite postcard and place it in their bedroom.
*Follow their lead- they may be "art museum'd out" and need a break. They might be all hyped up so encourage them further by checking out more art books from the library, providing art supplies and time to create or making a model museum for their toys to enjoy.

Ultimately, you know your children best. Start small and local and work your way up to the big guys. If they cannot be trusted to keep their hands off, or are uninterested, they might be too young; give it another year or two. You may want to take only one child at a time so your time can be spent more intimately and not shared. You want your child's time at the museum to be the very best experience and with a little bit of planning and preparation, it will be! Please feel free to add any tips you have found helpful in your art museum adventures!
If you do not live near an art museum, do not despair! Here are a few fantastic artsy websites you and your children can enjoy together:
National Gallery of Art; KidsGarden of Praise Art Appreciation for KidsThe MET: Explore and Learn


 After Art Museum Day, Abby wanted to learn more about famous art, so, to make it fun, we created a Barbie Museum. And like all things Barbie- it is the most amazing art museum ever! ( I think she is in cahoots with a very talented art thief because she was able to collect many of the world's most famous and beautiful pieces and display them all in the same gallery!)
 I was sure to include some stand-outs from museums we have visited together or will surely visit in the future (like all the London museums thanks to her Daddy). To make it portable and easily put-away-able, we used a tri-fold display and Velcro dots.
 Important information was added to the back of each piece (it was supposed to be a learning activity after all). If you want everything to be more durable, I would suggest laminating everything.
 Velcro was added to the backs of the art and they were ready to hang in the gallery!
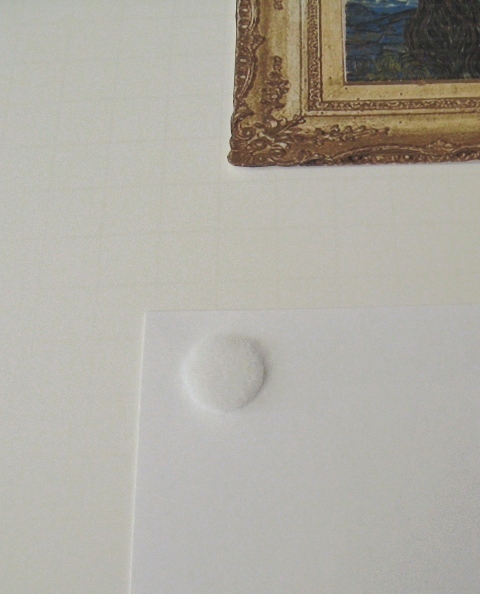 We added a few more things around like an "antique" globe (amazingly, for being such a valuable antique- it's totally up-to-date geographically!) and a paper doll's desk. Curator Barbie was so happy when she came!
 No touching!!!
 She immediately started changing things around. This was so fun to do and Abby has had such a fun time playing with it (although, if I'm being honest, she could care less about the info on the back except the artist and the name)
 You can use the back of the trifold panel as well, of course. I think in the future, we may hang each gallery wall in a different style since we have everything from Impressionism to Renaissance to Pop Art. Now we have a fun way to learn and as we visit more museums, we can add to Barbie's museum as well.


